


In woodworking, ripping is one of the most common cutting operations. A rip cut means cutting along the grain of the wood, such as reducing a wide board into narrower strips or preparing solid wood stock to a required width.
To achieve a straight, stable, and low-burn rip cut, the blade must do more than simply feel sharp. Tooth count, gullet size, tooth geometry, kerf width, machine speed, fence alignment, feed control, and safety devices all affect the final result.
1. What Type of Blade Is Best for Ripping Wood?
A carbide-tipped blade for wood ripping usually has several key features.
First, it uses a relatively low tooth count.
Compared with a crosscut blade, a ripping blade normally has fewer teeth. For common 184mm or 7-1/4 inch circular saw blades, 24T is a widely used configuration for fast wood ripping. Fewer teeth create larger gullets, allowing sawdust to clear quickly from the cut. This helps reduce heat, burning, and cutting resistance.
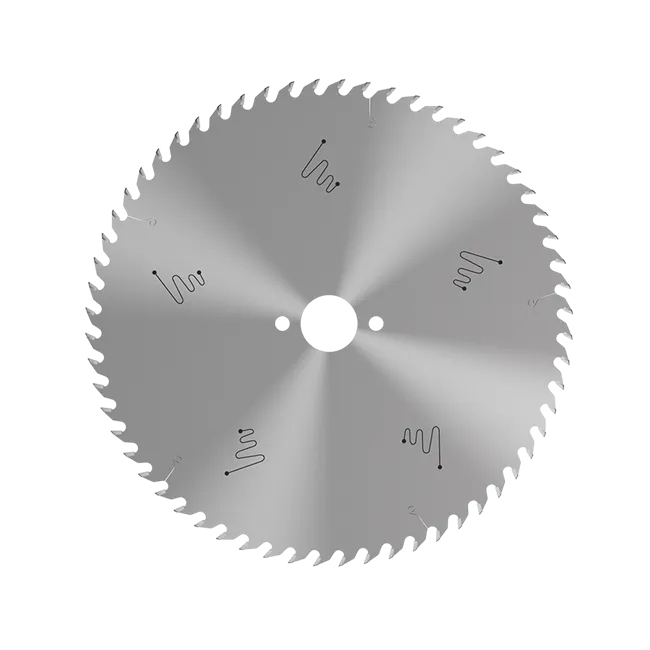
If your main application is fast ripping in solid wood, OSB, MDF, or engineered wood, you can refer to Nakamura's Wood 24 Tooth Saw Blade. A 24T wood blade is better suited for applications that require efficient chip removal and stable feeding.
Second, it needs larger gullets.
Ripping removes a lot of material along the grain. If the gullets are too small, chips can pack inside the kerf, increasing friction and making the blade run hotter.Third, the tooth geometry and hook angle must match the application.
Dedicated rip blades often use a tooth design suitable for cutting with the grain. A positive hook angle can improve feed efficiency, but it must be matched with the correct machine type and cutting conditions.
A general-purpose blade can handle many tasks, but for frequent solid-wood ripping, a dedicated ripping blade usually delivers faster feed, lower heat, and more stable cutting.
2. Preparation Before Cutting
Before making a rip cut, check the blade, the saw, and the workpiece.
Inspect the blade for chipped carbide tips, cracks, warping, heavy resin buildup, or obvious wear. Do not use a damaged blade.
Before installing the blade, disconnect the power and make sure the blade has completely stopped. Confirm that the blade diameter, arbor size, maximum RPM rating, rotation direction, and saw requirements match. The arrow on the blade must follow the saw's rotation direction.
If you are using a table saw, make sure the riving knife or splitter is installed correctly. The riving knife helps prevent the wood from closing behind the blade, which reduces the risk of kickback.
Also check that the rip fence is secure and properly aligned. Long boards and large panels should be supported with outfeed or side support to prevent the material from dropping, twisting, or binding during the cut.

3. Set the Blade Height and Rip Fence Correctly
For most through rip cuts, the blade should be set only slightly higher than the top surface of the workpiece. Excessive blade exposure increases risk and may reduce control.
The rip fence controls the width of the cut. Do not rely on your hands to "follow the line" during a table saw rip cut. Measure the required width, lock the fence, and make a test cut if high accuracy is required.
If the board edge is not straight, joint or straighten one edge before placing it against the fence. Severely bowed, twisted, or cupped material should not be used for narrow rip cuts without proper preparation.
4. How to Make the Rip Cut
Start the saw and allow the blade to reach full speed before feeding the wood. Feed the material at a steady, controlled pace. Do not force the cut, and do not twist the board while it is moving through the blade.
Keep your hands away from the line of cut. When the workpiece approaches the end of the cut, or when ripping narrow stock, use a push stick or push block instead of pushing by hand near the blade.
Avoid standing directly behind the blade and workpiece. Stand slightly to the side of the potential kickback path.
If you notice burning, abnormal noise, heavy vibration, difficult feeding, or the board drifting away from the fence, stop feeding, turn off the machine, and wait until the blade has completely stopped before checking the setup. Never pull the workpiece backward or try to correct the angle while the blade is still spinning.
5. Tips for a Cleaner Rip Cut
Use a blade designed for ripping.
A high-tooth-count crosscut blade may overheat, burn the wood, and feed poorly when used for heavy solid-wood ripping.Keep the blade clean.
Pitch, resin, glue, and sawdust buildup increase friction and heat, which can lead to burning and shorter blade life.Control the feed rate.
Feeding too fast can cause vibration, rough edges, or overload the motor. Feeding too slowly can create heat and burn marks. A proper feed rate should keep the saw running smoothly while the board moves continuously through the cut.Match the blade to the material.
Solid wood, plywood, particle board, MDF, and veneered panels do not cut the same way. For hardwood, engineered wood, OSB, and MDF applications, if you need a fixed specification or OEM customization, you can refer to Nakamura's Customized 184mm 24T Hardwood Saw Blade. Blade diameter, arbor size, tooth count, coating, and packaging can be matched according to your cutting requirements.
6. Choosing Blades for Cordless Circular Saws
When using a cordless circular saw for wood ripping, blade weight, kerf width, and cutting resistance directly affect battery life and feed control. A thin-kerf blade can reduce material waste and cutting load, making it more suitable for battery-powered tools.
For applications that require lower cutting resistance and improved cordless tool efficiency, you can refer to Nakamura's 185mm Carbide Teeth Circular Saw Blade. This type of blade is suitable for woodworking applications where lightweight design, lower resistance, and stable cutting performance are important.

7. Do Not Use One Blade for Every Material
A wood ripping blade should not be used casually for metal cutting.
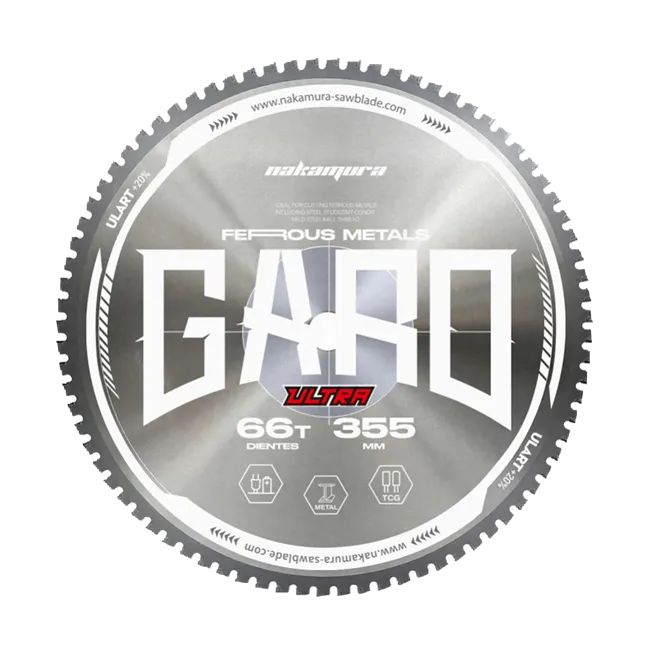
For aluminum, copper, brass, and other non-ferrous metals, use a dedicated non-ferrous metal cutting blade. These blades often use TCG tooth geometry with a low or negative hook angle to reduce burrs and material adhesion.
For steel or stainless steel, use a dedicated cold saw blade or dry-cut metal blade together with the correct saw, RPM, and cooling method. A high-speed woodworking saw and a standard wood blade are not suitable for cutting steel or stainless steel.
For plastic, choose the blade according to the specific material. Acrylic, PVC, polycarbonate, and other engineering plastics require proper tooth count, tooth geometry, and feed speed to reduce melting, chipping, and edge cracking.
8. Blade Maintenance
After cutting, clean the blade to remove sawdust, resin, and glue residue. Buildup on the blade increases friction and reduces cut quality.
Store the blade in a dry place and avoid contact with other metal tools. A blade sleeve, paper cover, or individual package helps protect the carbide tips from impact damage.
When cutting resistance increases, burn marks appear, edges become rough, or the feed speed becomes noticeably slower, the blade may be dull. Replace it or send it to a professional sharpening service.
Conclusion
A clean wood rip cut depends on more than a sharp blade. The right tooth count, large enough gullets, correct machine speed, stable fence setup, safe feed control, and proper blade maintenance all work together to produce a straight and efficient cut.
If you need a carbide-tipped circular saw blade for specific wood species, machine types, or production requirements, Nakamura can recommend or customize the blade diameter, arbor size, tooth count, kerf, plate thickness, tooth geometry, hook angle, coating, and packaging according to your cutting application.