


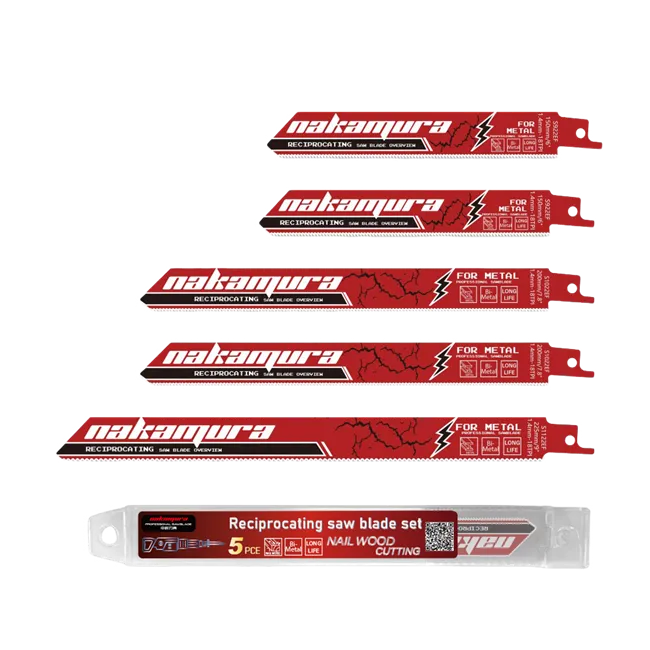
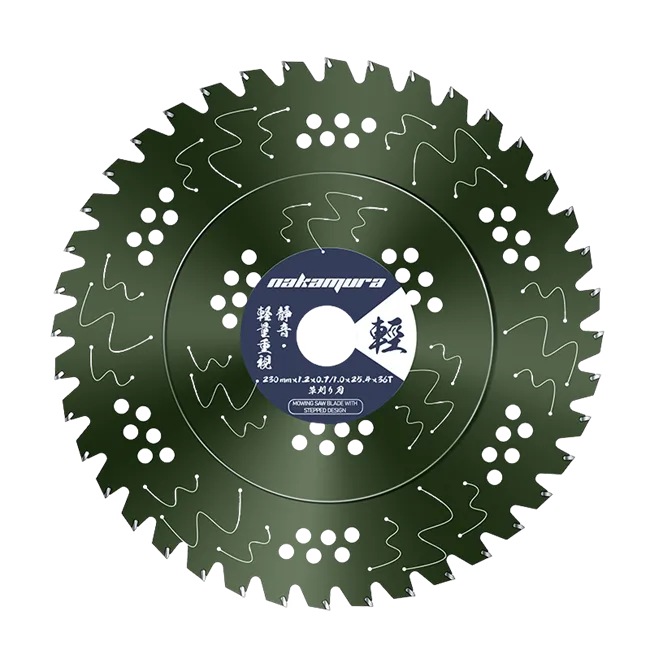
Proper installation is essential to the performance and safety of a carbide saw blade. Even a high-quality blade may produce uneven cuts, excessive vibration, or premature wear if it is installed incorrectly. Using the right tools helps ensure the blade is securely mounted, properly aligned, and ready for operation.
Whether you are working with aluminum profiles, solid wood, or composite materials, here are the essential tools and precautions to consider when installing a carbide saw blade.
1. The Correct Wrench or Socket
A properly sized wrench or socket is the most important installation tool. It allows you to loosen and tighten the arbor bolt without damaging its head.
Many circular saws come with a dedicated blade-changing wrench. If you use a socket set instead, make sure the socket fits the bolt correctly. Avoid forcing an adjustable wrench or using an incorrectly sized tool, as it may slip and damage the fastener.
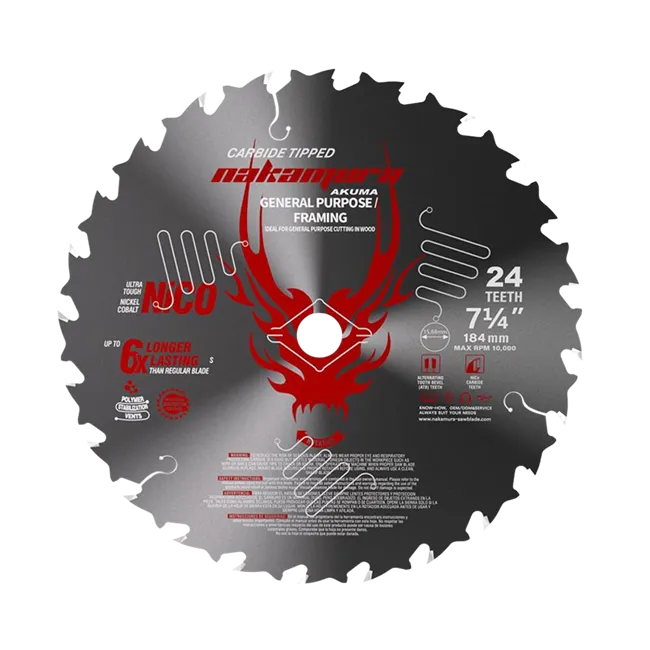
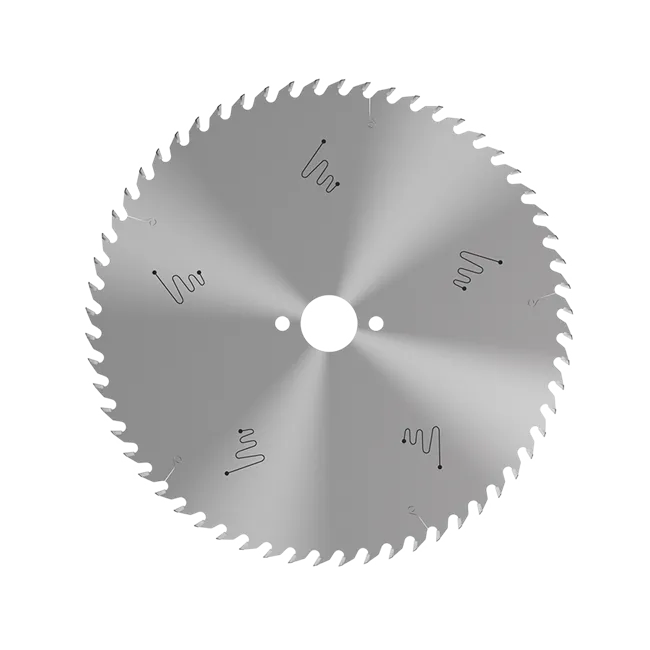
For example, when replacing a Tungsten Carbide Tipped Saw Blade, always check the saw's arbor specifications and ensure the replacement blade is compatible with the machine.
2. Arbor Lock or Blade Lock
An arbor lock prevents the shaft from rotating while you loosen or tighten the arbor bolt. Many modern circular saws have a built-in locking button.
If your machine has one, use it according to the manufacturer's instructions. Never insert a screwdriver between the blade teeth to stop the blade from turning. This can damage the carbide tips, injure your hands, or cause the tool to slip.
3. Protective Equipment
Wear safety glasses when handling or changing a blade to protect your eyes from dust and debris. Cut-resistant work gloves can also help protect your hands while handling a stationary blade.
However, remove your gloves before operating the saw. Loose gloves or clothing should never come into contact with moving machinery.
4. Cleaning Cloth or Soft Brush
Before installing a new blade, inspect the inner and outer flanges. Dust, metal chips, and other debris trapped between the blade and flange can prevent the blade from sitting flat.
Use a clean, lint-free cloth or a suitable soft brush to remove debris from the mounting surfaces. Make sure the flanges are clean and undamaged before fitting the new blade.
This step is particularly important when working with aluminum. Small metal chips can accumulate around the mounting area and affect blade seating.
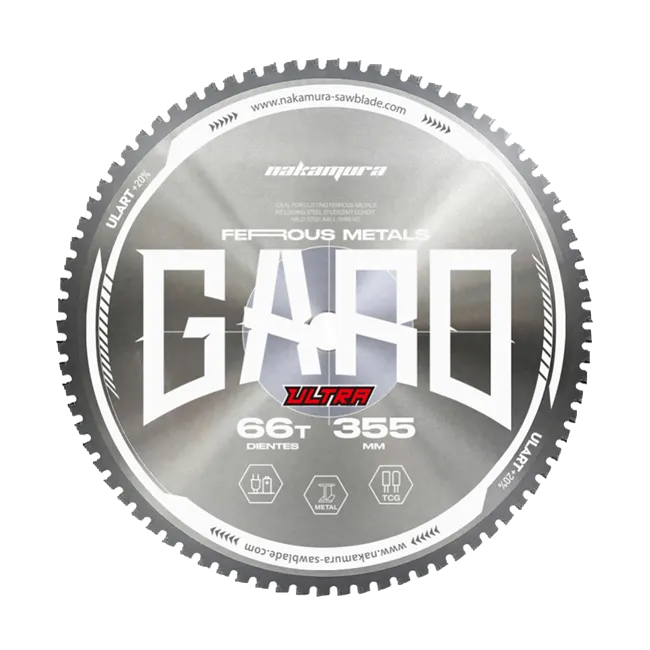
For aluminum-cutting applications, a suitable blade such as the 900mm Saw Blade for Aluminum should also be matched to the machine, material, and cutting requirements.
5. Torque Wrench (For Professional Applications)
A torque wrench can help achieve consistent tightening, especially in workshops where blades are changed frequently.
However, there is no universal torque value for all circular saws. The correct tightening torque depends on the machine design and arbor specifications. Always follow the saw manufacturer's instructions rather than applying a general torque range.
Overtightening may damage the fastener or mounting components, while insufficient tightening can allow the blade to move during operation.
How to Install a Carbide Saw Blade Safely
Once you have the necessary tools, follow these basic steps:
Disconnect the power. Unplug the saw or remove its battery before starting any blade replacement.
Check the machine. Make sure the blade guard and locking mechanism are functioning properly.
Secure the arbor. Engage the built-in arbor lock if your saw has one.
Remove the old blade. Use the correct wrench to loosen the arbor bolt. Check the manual for the correct loosening direction, as thread direction varies between saw models.
Clean the mounting surfaces. Remove dust and debris from the flanges, and inspect them for damage.
Install the new blade. Check the blade's rotation arrow and ensure it matches the direction indicated on the saw. Confirm that the bore and mounting dimensions are compatible.
Tighten the arbor bolt. Reinstall the washers and fasteners in the correct order, then tighten according to the manufacturer's instructions.
Check before operation. Make sure the blade is securely seated, the guard moves freely, and all tools have been removed. Follow the machine manual for the initial no-load test, keeping clear of the blade.
A blade should never be operated if it is damaged, incorrectly mounted, or incompatible with the saw.
Common Installation Mistakes to Avoid
Some installation problems can be prevented with a few simple precautions:
Using the wrong wrench: An ill-fitting tool can damage the arbor bolt and make future blade changes difficult.
Ignoring blade direction: Installing a blade against its marked rotation direction can affect cutting performance.
Skipping flange cleaning: Debris between the mounting surfaces may prevent proper blade seating.
Applying excessive force: Do not overtighten the arbor bolt or force a blade onto an incompatible arbor.
Ignoring the blade guard: Never operate a saw with a damaged or malfunctioning guard.
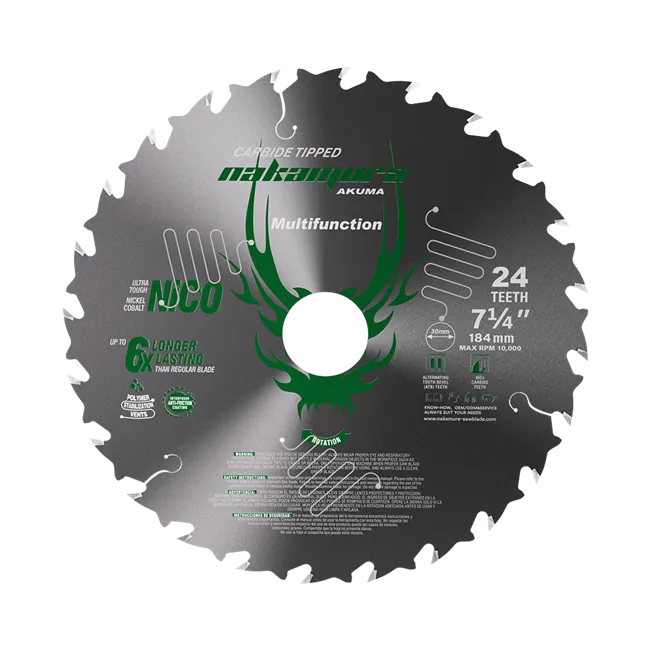
For mixed-material applications, a Multi Blade Circular Saw 147mm may be worth considering, provided its specifications and approved applications match the material and machine being used.

Final Thoughts
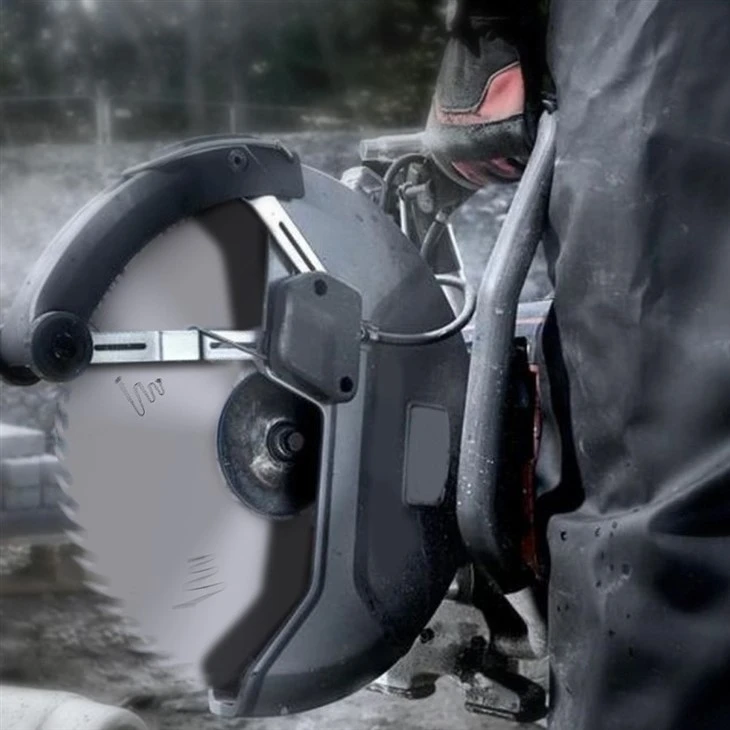
Installing a carbide saw blade correctly does not require a large collection of tools. In most cases, the right wrench, an arbor lock, protective equipment, and a clean mounting surface are the essentials. A torque wrench can also be useful for professional applications when the machine manufacturer specifies a tightening value.
Taking a few extra minutes to check compatibility, clean the flanges, and follow the machine's installation instructions helps maintain cutting accuracy, protect the blade, and support safer operation.